
Ready to give your space a makeover with the classic charm of hardwood flooring but feeling a bit lost in the wood?
Don’t worry – we’ve got your back!
From the first nail to the final polish, we’ll guide you through every step of your hardwood journey.
Our goal?
To help you create a floor that’s not just stunning but built to stand the test of time (and countless footsteps).
Key Notes
- Give your hardwood 3-5 days to acclimate to its new home.
- Your subfloor should be clean and level, and plan the layout to avoid narrow strips at the walls.
- There are different installation methods to choose from: nail-down for solid hardwood, glue-down for engineered hardwood, and floating/click-lock for DIY.
What You’ll Need

Before starting, gather the following materials and tools:
| Expense | Cost Range (per sq ft) |
|---|---|
|
|
Setting the Stage
1. Acclimate the Flooring
Acclimating the hardwood to the room’s humidity and temperature is essential to prevent issues like warping.
Lay the planks flat in the installation room for three to five days. This period allows the wood to adjust to the environment, reducing the risk of expansion or contraction post-installation.
Factors such as the type of wood and the specific environmental conditions can influence this process.
2. Prep the Subfloor
Remove old flooring, carpet strips, and baseboards. Check for and rectify any moisture problems.
Proper preparation can also include considerations for modern underfloor heating systems.
3. The Grand Floor Plan
Determine the direction of the floor joists and plan to install the flooring perpendicular to them for stability.
Plan your layout to avoid narrow strips of wood at the walls, which can be unattractive and less stable. Snap chalk lines to ensure straight rows during installation.
The Hardwood Installation Playbook
| Installation Method | Description | Best Used For | Pros | Cons |
|---|---|---|---|---|
| Nail-Down Method | Involves nailing hardwood planks to the subfloor using nails or staples. | • Solid hardwood floors • Wood subfloors |
Provides a strong, permanent installation; suitable for solid hardwood. | Requires more tools and skill; not suitable for concrete subfloors. |
| Glue-Down Method | Uses adhesive to attach the hardwood planks directly to the subfloor. | • Engineered hardwood • Concrete subfloors |
Offers strong adhesion; good for concrete surfaces. | Adhesive can be messy; longer curing time needed. |
| Floating/ Click-Lock Method | Planks are clicked together without attaching to the subfloor; the floor "floats" above the subfloor. | • Engineered hardwood • DIY projects |
Easy installation; can be installed over various subfloors. | May feel less solid underfoot; requires a perfectly level subfloor. |
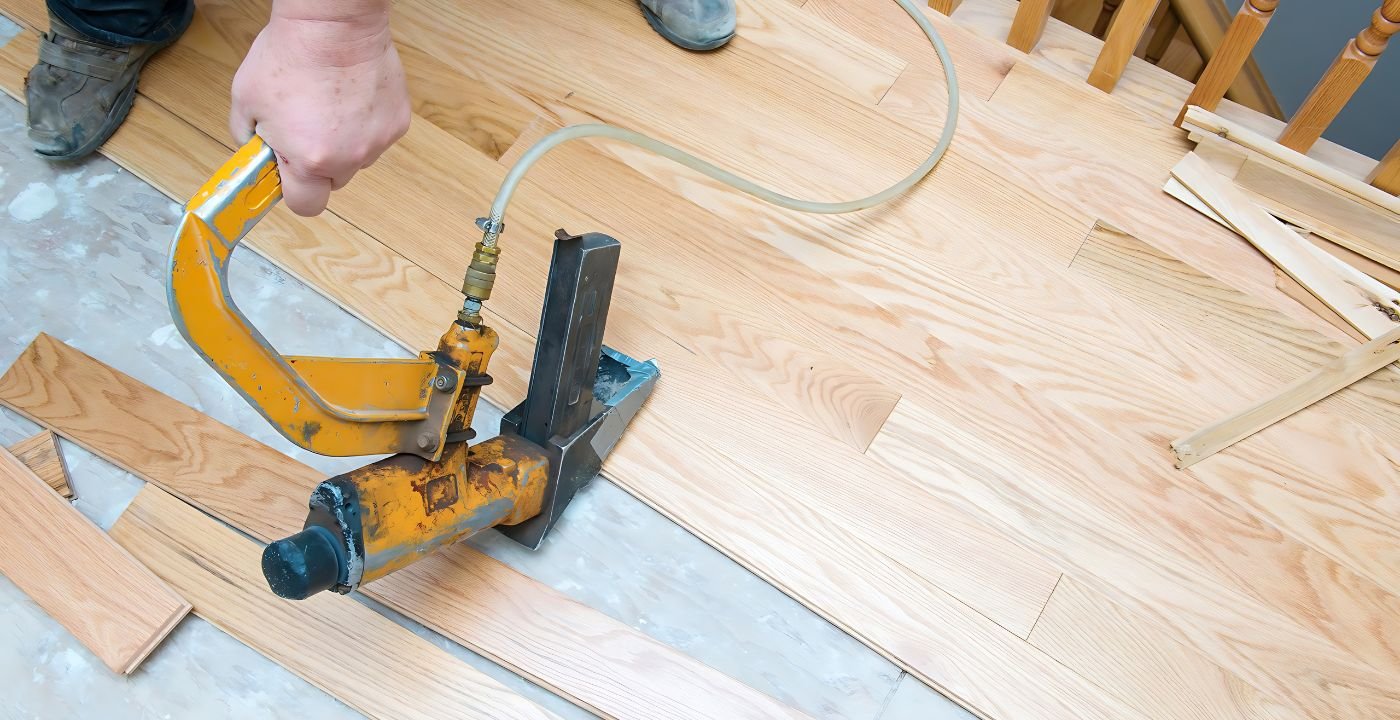
Nail-Down Method
The nail-down method is preferred for solid hardwood floors due to its strength and durability.
First Row
- Align the first board with the chalk line.
- Predrill holes and face-nail the first row. Use spacers to maintain a ¾-inch expansion gap along the wall.
Subsequent Rows
- Fit and lock the boards together by tapping with a mallet.
- Blind nail at a 45-degree angle through the tongue of each board, securing it to the subfloor. Stagger joints by at least 6 inches to enhance stability and appearance.
Final Rows
- Face-nail the final rows close to the wall where the flooring nailer cannot reach.
- Cut the last row to fit, maintaining the expansion gap. Fill any nail holes with wood putty to match the flooring.
Glue-Down Method

The glue-down method is suitable for engineered hardwood and works best on concrete subfloors.
Application
- Apply adhesive with a trowel in small sections to prevent it from drying out before the planks are laid.
- Lay the boards and press them into the adhesive. Clean any excess adhesive immediately to avoid damaging the finish.
Finishing
- Allow the adhesive to cure according to the manufacturer’s instructions, typically 24 to 48 hours.
- Avoid walking on the floor during this period to prevent shifting.
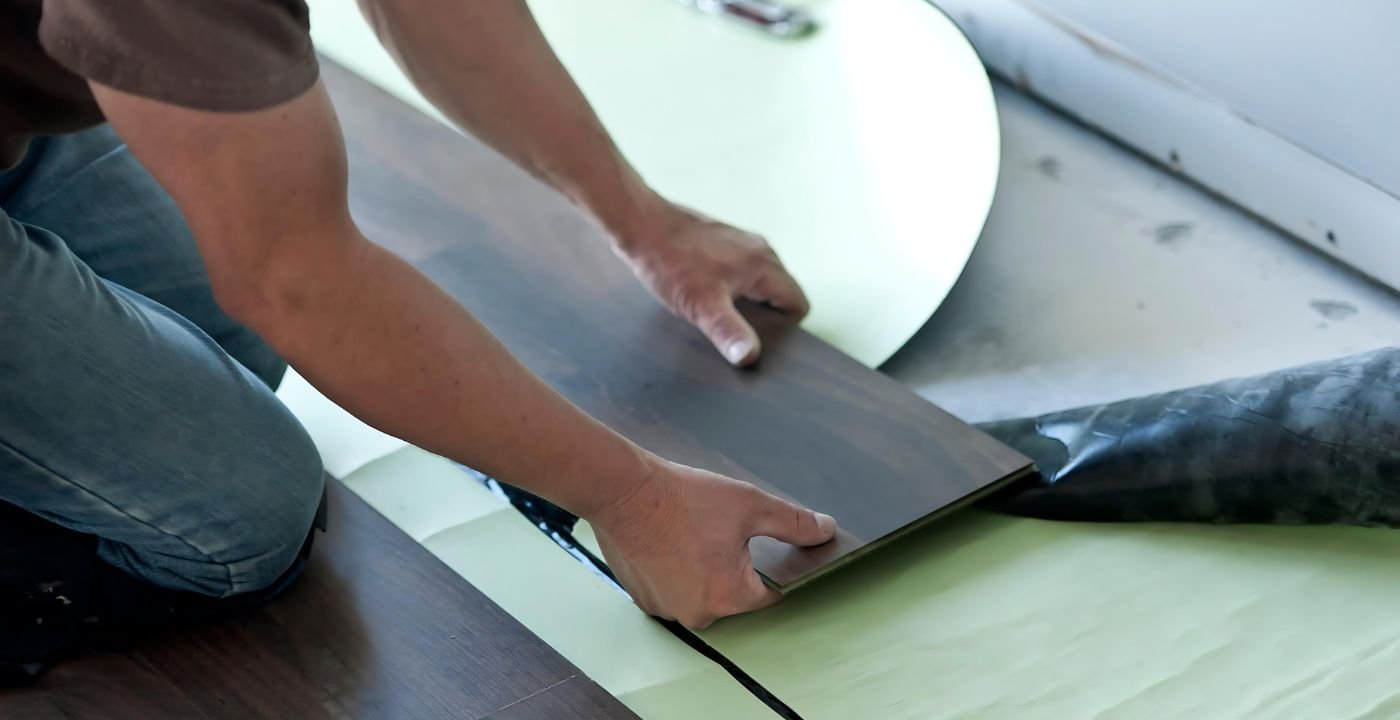
Floating/Click-Lock Method
The click-lock or floating floor method is ideal for DIY projects and engineered hardwood.
First Row
- Lay the first row with the groove side facing the wall. Use spacers to maintain an expansion gap.
- Secure the first row with nails if required by the manufacturer
Subsequent Rows
- Click the boards together by angling and snapping them into place. Ensure tight seams between boards by tapping them gently with a mallet.
- Continue installing rows, maintaining the expansion gap, and staggering the joints for a natural look.
Want Pro Results Without The DIY Stress?
The Final Flourish
To complete your hardwood floor installation:
- Install Baseboards and Shoe Molding: Cover the expansion gaps with baseboards and shoe molding, nailing them to the wall rather than the floor to allow for movement.
- Fill Nail Holes: Use matching wood putty to fill any visible nail holes, ensuring a smooth finish.
- Clean the Floor: Remove any debris or dust to keep the new floor pristine.
Install your Floors Like An Expert
- Stay Level and Aligned: Regularly check for level and alignment throughout the installation process to prevent uneven floors.
- Mix and Match: Blend boards from different boxes to ensure a consistent color and pattern across the floor, giving it a more natural look.
- Mind the Gaps: Maintain the recommended expansion gaps to allow for wood expansion and contraction due to humidity changes, keeping your floor in top shape.
- Follow the Guide: Always adhere to the manufacturer’s instructions for your specific hardwood flooring to avoid voiding any warranties and ensure the best results.
Frequently Asked Questions
How do I calculate the amount of hardwood flooring I need?
To determine the amount of hardwood flooring you need, measure the length and width of the room to calculate the square footage. Add 10% to account for waste, cuts, and mistakes.
What is the difference between solid hardwood and engineered hardwood?
Solid hardwood is crafted from a single piece of wood, typically ¾ inch thick, and can be sanded and refinished multiple times.
Engineered hardwood, on the other hand, consists of a thin layer of hardwood on top of multiple layers of plywood or high-density fiberboard, offering greater stability in varying humidity levels and suitability for installation over concrete subfloors.
How do seasonal changes affect hardwood flooring?
Hardwood flooring can expand and contract with changes in humidity and temperature. During humid months, the wood may expand, and during dry months, it may contract. To minimize these effects, maintain consistent indoor humidity levels between 30% and 50% and a temperature range of 60°F to 80°F.
Conclusion
By following this step-by-step guide, you can achieve a stunning, professional-quality installation that will last for years.
Whether you opt for the nail-down, glue-down, or floating method, meticulous preparation and attention to detail are key to a flawless finish.
For a perfect installation without the hassle, contact us today for a free quote from our expert team.