
Ever dreamed of transforming your home with a stunning tile floor but felt overwhelmed by the prospect?
Fear not, intrepid DIY-er!
Whether you’re a seasoned home improvement guru or a first-time tiler with more enthusiasm than experience, we’ve here to walk you through every step of the process.
Key Notes
- Proper subfloor preparation and thoughtful tile selection are critical to ensuring a successful tile floor installation.
- Follow precise steps for mixing thinset, laying tiles, and applying grout to achieve a professional finish.
- Regular cleaning, timely grout sealing, and prompt chip repair are essential practices for extending the life and beauty of your tile floors.
- For large or complex spaces, intricate patterns, or when time is limited, professional installation can be a wise choice.
The Tiling Toolkit
Before starting your tile floor installation, gather all necessary tools and materials:
- Tiles (obviously)
- Thinset mortar
- Grout
- Tile spacers
- Notched trowel
- Rubber float
- Wet saw or tile cutter
- Measuring tape
- Chalk line
- Level
- Sponge
- Buckets
- Safety gear (gloves, goggles, mask)
Step 1: Choosing Your Floor’s Personality
Selecting the Right Tile
Choose tiles based on the room’s usage, traffic, and style. For high-traffic areas, durable tiles like porcelain or ceramic are ideal. They resist wear and are easy to maintain.
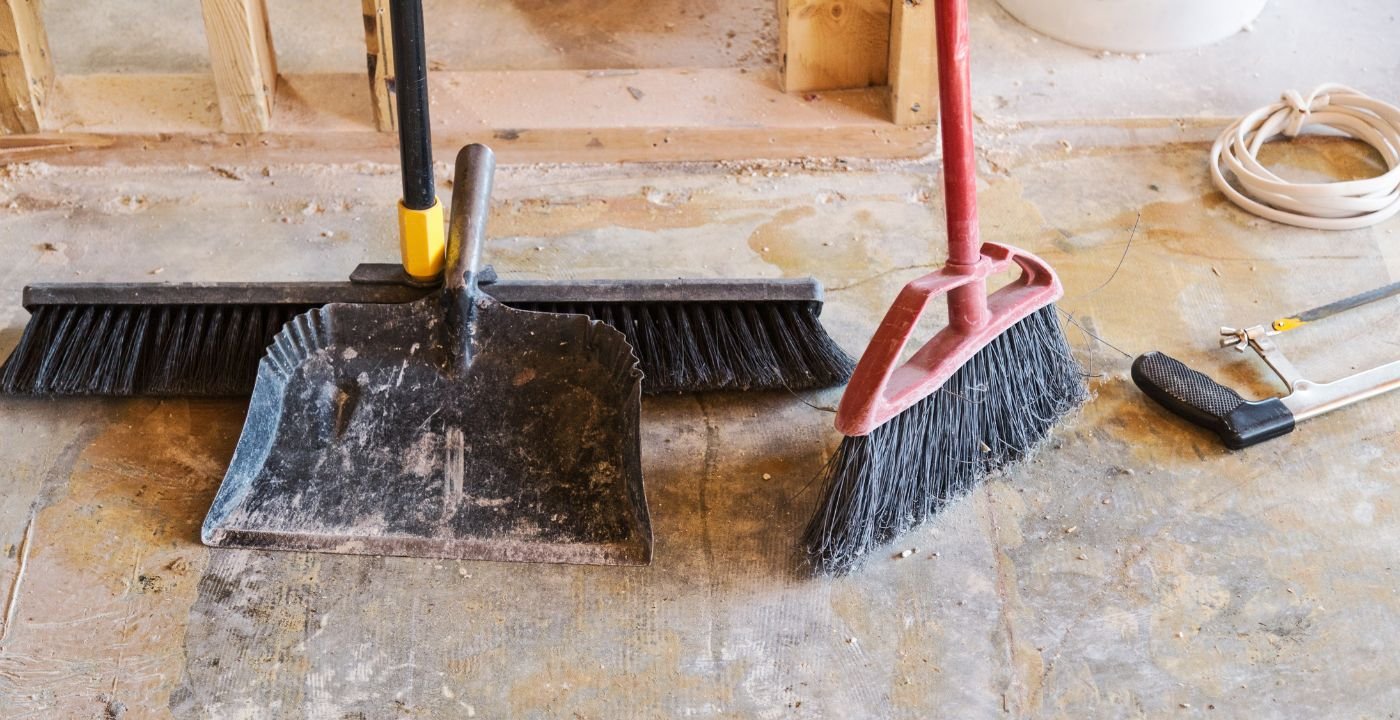
Floor Preparation
Start by removing existing flooring and cleaning the subfloor. This includes eliminating any debris, adhesive residues, and dust. Repair cracks or low spots using a leveling compound to create a smooth surface.
Step 2: Prep Like A Pro
Inspect the Subfloor
Ensure the subfloor is structurally sound, clean, and level. Remove any debris, old adhesive, or uneven areas.
If the subfloor is not level, use a leveling compound to correct it.
Underlayment Installation
If necessary, install an underlayment such as a cement backer board or a tile membrane. This provides a stable surface for the tile and helps prevent cracks.
Step 3: The Layout
Marking the Layout
Find the center of the room by measuring and marking the midpoint of each wall.
Snap chalk lines to create a cross at the center. This will guide the tile placement and ensure a balanced layout.
Dry Laying the Tiles
Lay out tiles along the chalk lines without mortar to check the fit and pattern. Adjust as needed to avoid small cuts along the walls, which can be visually unappealing.
Dreaming Of Perfect Tiles But Daunted By DIY?
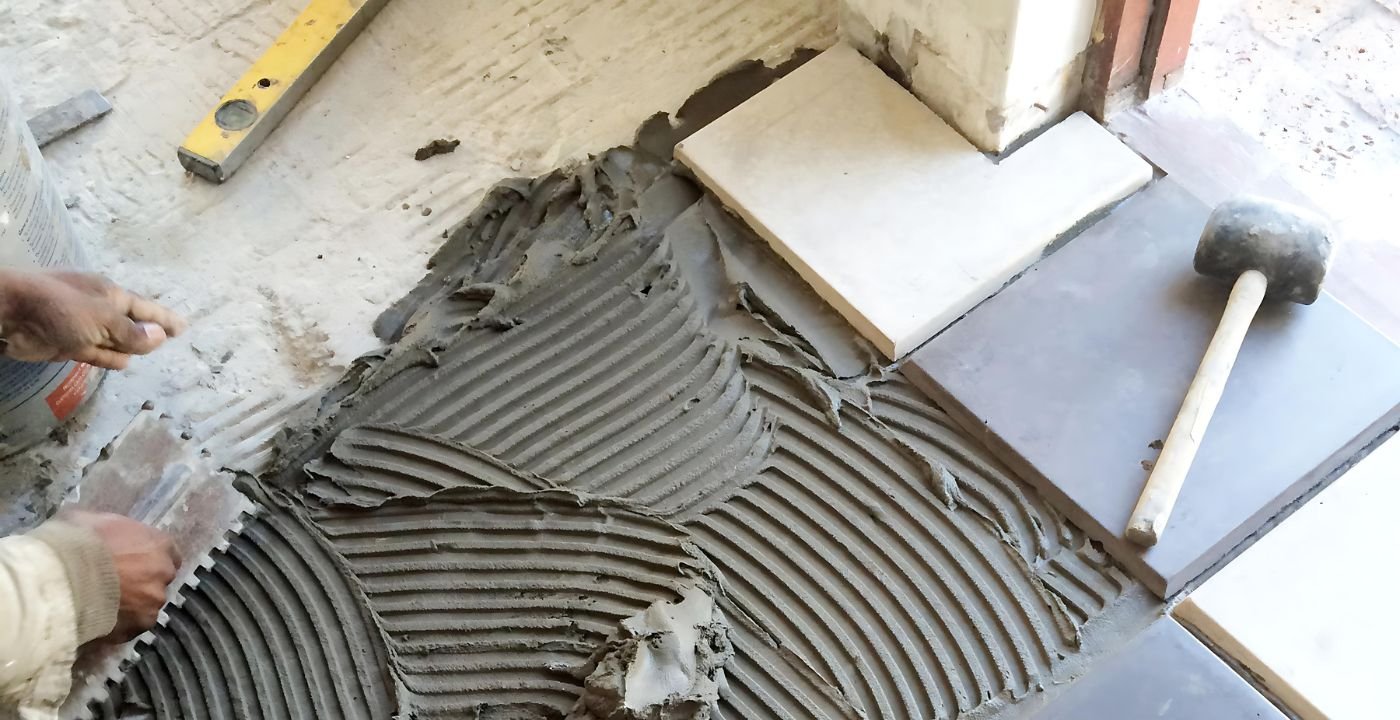
Step 4: What to do with Thinset
Mixing Thinset
Follow the manufacturer’s instructions for mixing thinset. The consistency should be like peanut butter, holding its shape without dripping.
Applying Thinset
Using a notched trowel, apply thinset to the subfloor in small sections to prevent it from drying out. Comb the thinset in straight lines to ensure even distribution and good adhesion.
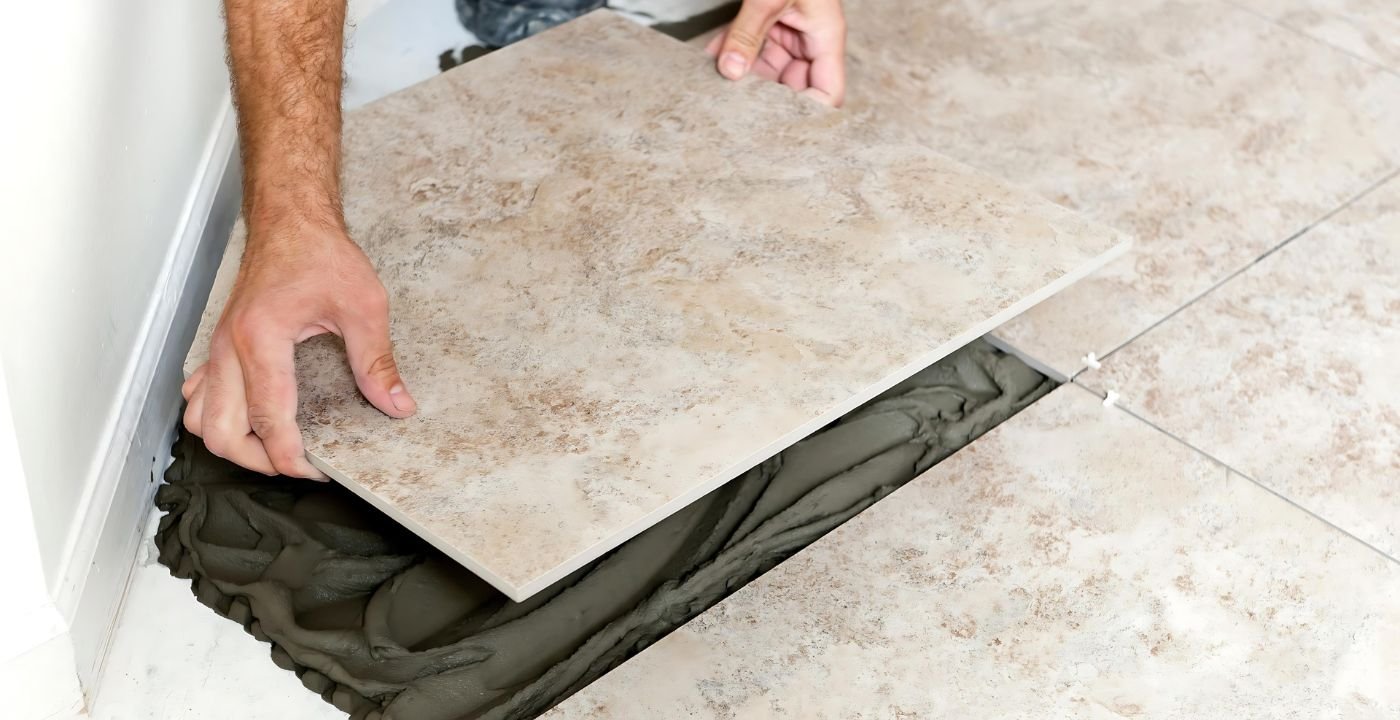
Step 5: Laying The Tiles
Setting the Tiles
Press each tile firmly into the thinset, using a slight twisting motion. Use spacers between tiles for uniform grout lines.
Cutting Tiles
Measure and cut tiles to fit along the edges of the room using a wet saw or tile cutter. Leave a small gap between the tiles and the walls for expansion.
This gap will be covered by baseboards or trim later.
Step 6: The Grand Grouting Finale
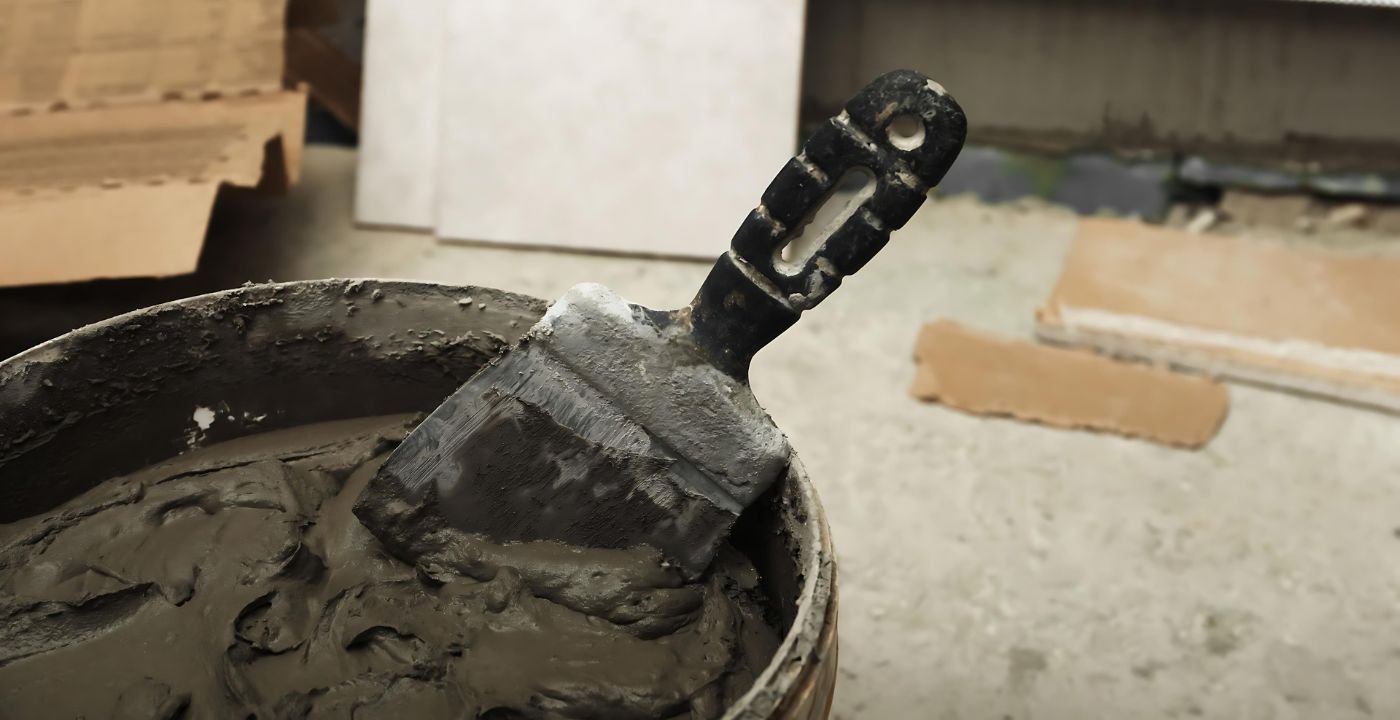
Applying Grout
Mix grout according to the manufacturer’s instructions.
Once the thinset has cured, remove the tile spacers and apply grout diagonally across the tiles using a rubber float.
Cleaning Excess Grout
Wipe off excess grout from the tile surface with a damp sponge, being careful not to remove grout from the joints.
Allow the grout to set as recommended by the manufacturer. Usually, this will take around 24 to 72 hours.
Step 7: Final Touches
Sealing and Cleaning
After the grout has fully cured, apply a grout sealer to protect against stains and moisture. Clean the tile surface thoroughly to remove any remaining haze.
Reinstall Fixtures
Replace baseboards, reinstall the toilet, and any other fixtures that were removed during the process. This final step will give your tile floor a polished and complete look.
Maintenance
Clean Regularly
Sweep and mop regularly to prevent dirt and grime build-up.
Reseal Grout Annually
Reapply grout sealer annually to maintain protection against stains and moisture. This will help extend the life of your grout and keep it looking fresh.
Fix Chips Promptly
Fix any chips or cracks in the tiles promptly to prevent further damage. Use a matching tile repair kit for the best results.
Frequently Asked Questions
Can I tile directly over a plywood subfloor?
It’s not recommended. Plywood can expand and contract with moisture and temperature changes. Use a cement backer board or an appropriate underlayment for best results.
How soon can I walk on my new tile floor?
Avoid walking on the tiles for at least 24 hours to allow the thinset to set properly. After grouting, wait an additional 24 to 72 hours for the grout to fully cure.
What type of thinset should I use?
The type of thinset depends on your tile and subfloor. Standard thinset works for most ceramic and porcelain tiles, but for larger tiles or specific materials like glass, use a modified thinset designed for those applications.
Can I change the grout color after it has been applied?
Yes, you can change grout color using grout colorant or stain. This is a more convenient option than removing and replacing the grout.
Conclusion
From selecting the perfect tiles to applying that final grout seal, you’ve learned the essential steps to transform your space with a beautiful and durable new floor.
Remember, patience and precision are your best friends in this process. Take your time with each step, especially the preparation and layout phases, as these set the foundation for a successful installation. Don’t be discouraged if your first attempt isn’t perfect – tiling is a skill that improves with practice.
For those feeling overwhelmed or tackling a large or complex space, there’s no shame in calling in the professionals. Our expertise can save you time, stress, and potentially costly mistakes. Contact us now for a free quote.